Quality Flooring Products for Lasting Beauty
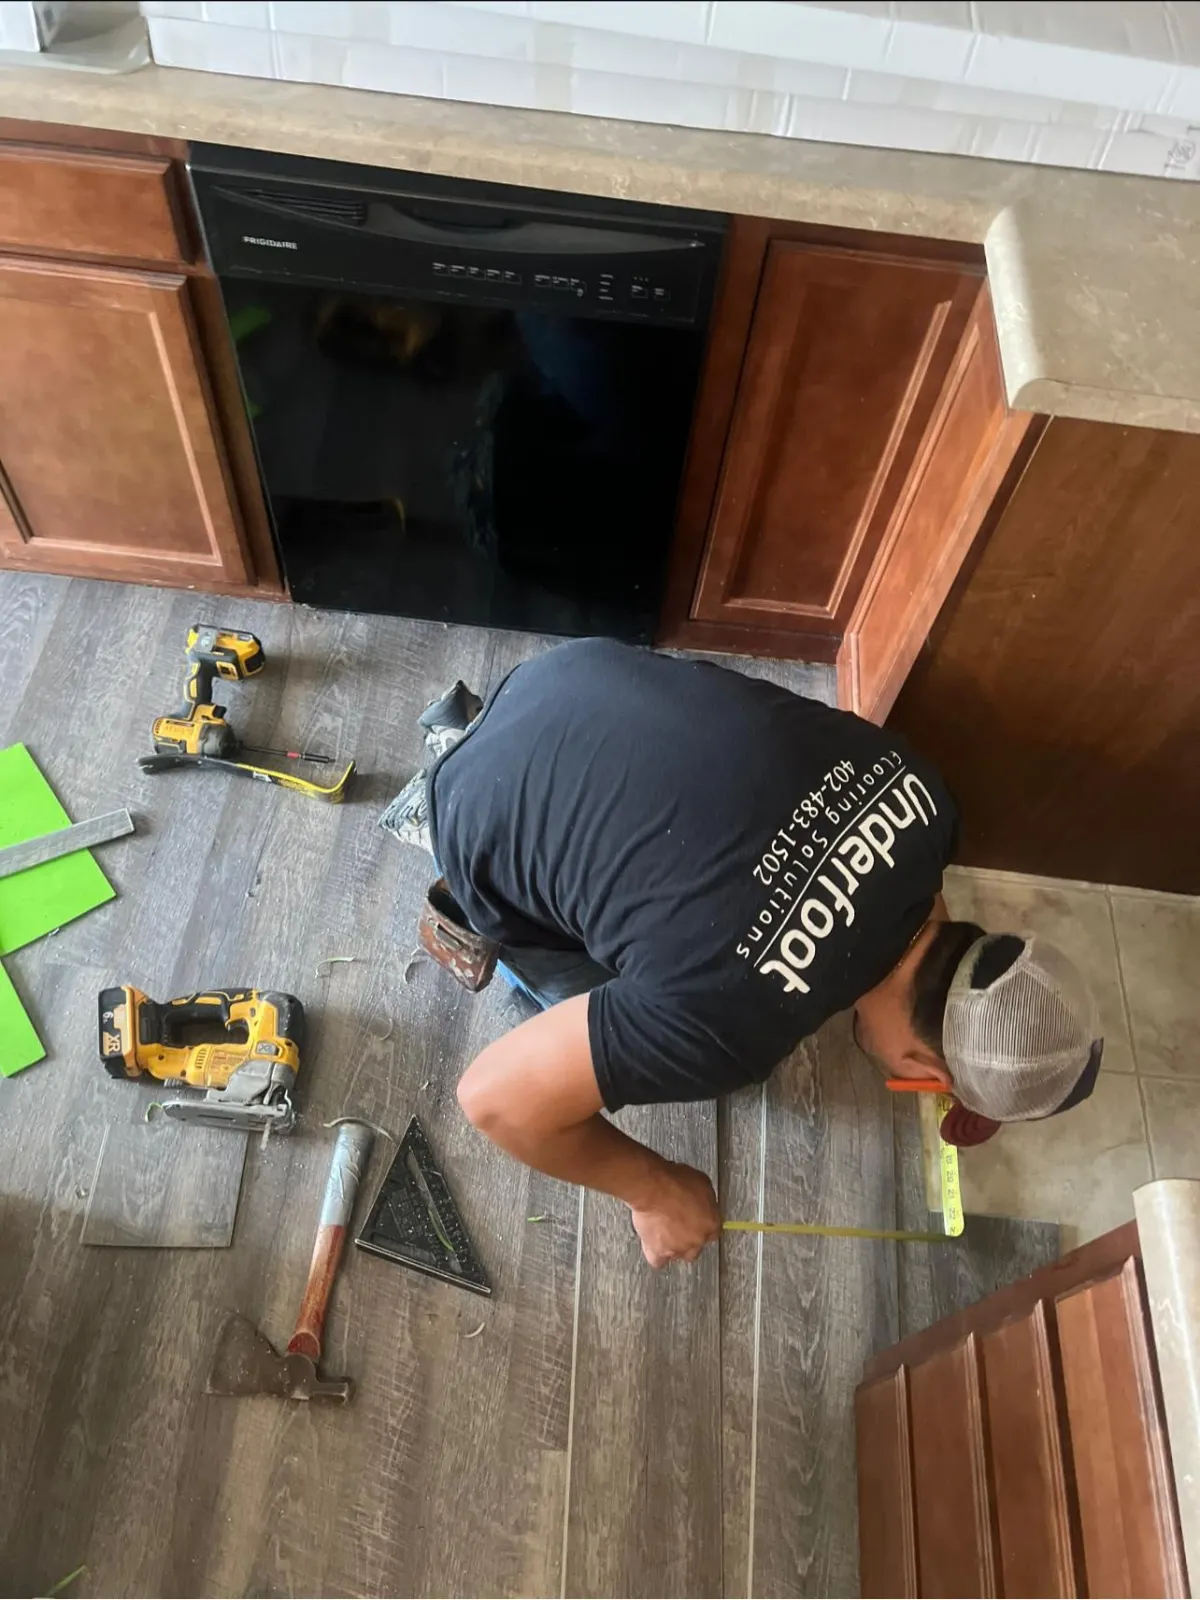
Locally owned and operated flooring store serving the Nebraska area in commercial and residential flooring installation for over 15 years. We are your one stop shop for your flooring needs.

Crafting Quality Flooring Experiences
What sets us apart is our unwavering dedication to quality. We source the finest materials, collaborate with skilled artisans, and employ a team of professionals who share our vision for perfection. We understand that your home is a reflection of your individuality, and our goal is to provide you with the means to express it through your choice of flooring.
Our Brands
Underfoot Flooring only works with top quality products and brands. Check them out.
Our Services
Our services are tailored to meet the unique needs of homes or businesses like yours. We offer a comprehensive range of services to enhance your living space.
Material Sourcing
We excel in material sourcing to meet your project's unique requirements. Our dedicated team of experts specializes in procuring the highest-quality materials, components, and resources needed to bring your vision to life. With an extensive network of trusted suppliers and a deep understanding of market trends.
TESTIMONIALS
CUSTOMER REVIEWS
OUR TEAM

ELA
CEO/CFO
Owner

CORY
Owner/Estimator
Flooring Guru

CHAD
Operations Manager

Amanda
Director of Marketing
Material sales
Underfoot is a family-owned and operated flooring store, proudly run by Ela and Cory Schlisner. With years of experience in the flooring industry and as the owners of PureCare Dry Carpet Cleaning, expanding into Underfoot was a natural step in our journey. While we’ve always installed floors alongside cleaning them, Underfoot allows us to offer a broader range of services and reach more customers in need of quality flooring solutions.We specialize in both commercial and residential flooring installation and material sales, providing top-notch service and a carefully curated selection of flooring options. At Underfoot, we don’t just deliver floors—we deliver spaces you’ll love.After all, we purely care about what’s under your foot.
FAQS (under construction)
How can I maintain and prolong the life of my flooring?
Proper maintenance is essential to extend the life of your flooring. For hardwood and laminate, regularly sweep or vacuum to remove dirt and debris. Use a damp mop for cleaning but avoid excessive water, which can damage wood. For carpet, vacuum frequently and consider professional deep cleaning periodically. Avoid dragging heavy furniture and use protective pads. Also, place rugs in high-traffic areas to minimize wear. Finally, follow the manufacturer's care guidelines for your specific flooring type to ensure longevity.
Where do i begin with a flooring project?
Starting your flooring project with Underfoot is simple and straightforward. First, explore our curated collections from top flooring vendors to find the materials that best suit your space and style. Then, schedule a sample room appointment to see and feel the options in person—if a sample isn’t currently available in our showroom, we’ll make sure it’s brought in for you. Once you’ve selected your flooring, our team can provide a detailed consultation, discuss project timelines, and handle everything from measurement to professional installation. For commercial projects, we also welcome bid requests and can work closely with developers and contractors to ensure a seamless process from start to finish.
How do i choose a product that is right for me?
Choosing the right flooring for your space is an important decision, and at Underfoot, we make the process simple and personalized. Start by considering the function of the room, the level of foot traffic, and your desired style and aesthetic. Our knowledgeable team is here to guide you through the options, from durable commercial-grade materials to elegant residential choices like hardwood, LVP, tile, and carpet. We encourage you to visit our sample room to see and feel the textures and finishes firsthand—if a sample isn’t available, we’ll bring it in for you. With expert advice and hands-on experience, Underfoot ensures you select a flooring product that not only complements your space but also meets your practical needs and long-term expectations.
What to do to prepare for a install?
Preparing for your flooring installation is easy with guidance from Underfoot. Your estimator will provide you with a pre-installation checklist and tips on how to prepare your space, including what furniture or items need to be moved to ensure a smooth and efficient installation. Following these guidelines helps our team work quickly and safely, allowing us to deliver the high-quality results you expect while minimizing disruption to your home or business.
Do you provide install if I already have the material?
At Underfoot, we prioritize providing full-service flooring solutions, including both materials and professional installation. During peak seasons, our scheduling focuses on customers who have purchased the complete flooring package through us to ensure timely and seamless service. While we do offer labor-only installations at certain times of the year, availability can vary based on workflow and demand. We recommend giving us a call to discuss your project, as we can provide the most accurate guidance on timing and options based on your specific needs.


